Wednesday 25 January 2023

Here Come The Christmas Penguins - The Paper Shelter

Hi Everyone, are you ready ...

It is time for a new challenge at Paper Shelter
and the theme is Something Cold
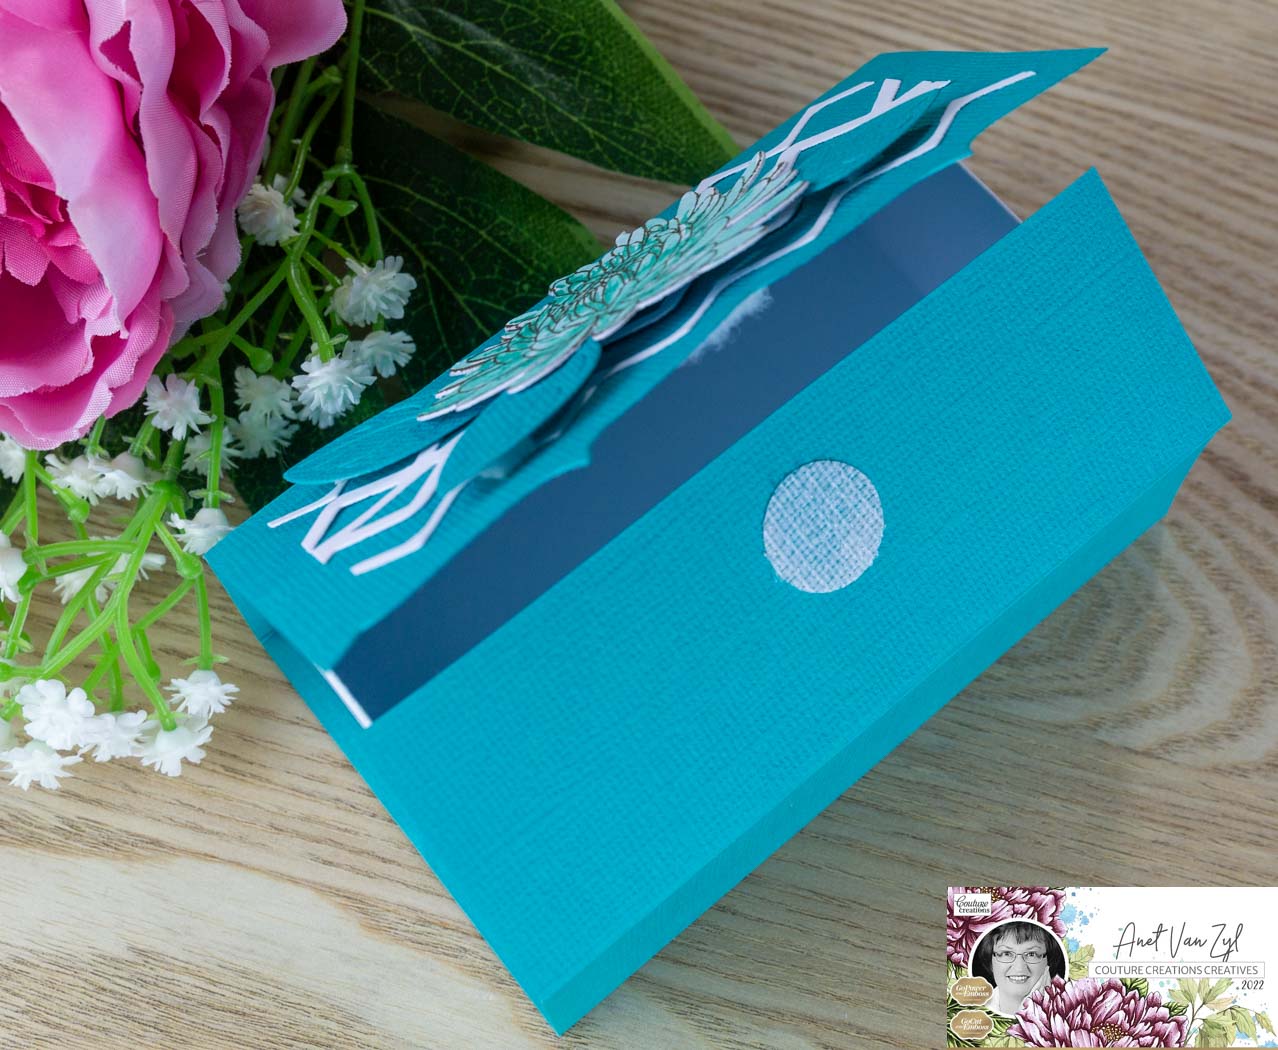
Now here is my card 
Coloured with Copic Sketch Markers.


Sentiment: LOTV Sentiment Tag. Dies: Sizzix Season Flowers Framelits Die and Stamp Set. Impression Obsession Fir Trees. Find It Trading Amy Design Poinsettia Corner. Ranger Stickles.


Our Sponsor The Paper Shelter are offering one lucky winner a fabulous gift certificate of $30. But, you must use a Paper Shelter product on your card or project. This could be a Paper Shelter Image, Paper or Printable. If you don't use a Paper Shelter product, you could still win 3 digi images of your own choice. So it really is a win win situation don't you think.


Make sure you go over to The Paper Shelter Shop and take a look at all the beautiful digital stamps.


I would like to enter the following challenges:

Do-All Creative Challenge Blog.  Theme:  Snowman.
Crafty Animals Challenge Blog.  Theme:  Anything Goes.
Four Seasons Challenge Blog.  Theme:  Winter.
The Creative Crafters Challenge Blog.  Theme:  Anything Goes.
Make My Monday Challenge Blog.  Theme:  Your Favourite Theme (#181 Christmas In August).
Double D Challenge Blog.  Theme:  Snow.

Thank you for visiting me, I always appreciate you taking the time to leave a lovely comment.


Anet x

Monday 23 January 2023

Thank You Card & Gift Box - Couture Creations

Hi Everyone, Anet here today and welcome to my inspiration post.

After careful consideration I made the tough decision that it is time for me to move on and  unfortunately this will be my last inspiration projects for Couture Creations. I want to thank Couture Creations and  especially Andrew, Tania and Meghan for the wonderful opportunity working with them. I have enjoyed using all the beautiful Couture Creations collections and products. Learned new things and loved creating with it. I wishing Couture Creations and the Design Team all of the best for the future.

I made a Card and Gift Box with the Elegance Collection from Couture Creations. I used the foil, die-cut and heat emboss techniques to create my card. 


I found the inspiration from Julie's Blog. I did not follow all her steps, instead I made some changes and put my spin on it.

Step by Step Instructions:

Card


I first trimmed Caruso Cardstock to 3 7/8" x 5 5/8" and layered it onto the card front.

To create a background I die-cut white cardstock with the Elegance Beautiful DL Border Die and layered it onto the card front. I think this is just a great idea to use the border die in another way.


Following on from this I cut Smooth White Cardstock to 2 5/8" x 4 3/4" and adhered it onto the card front.

I then cut Caruso Cardstock to 2 3/8" x 4 1/2" and adhered it onto the white cardstock using 3D foam Dots.

Following on from this I stamped the Elegance Aster Stamp onto Smooth White Cardstock using the Embossing Ink Pad and Metallics Embossing Powder and heat emboss it. 

I then stamped the Elegance Aster Stamp onto the embossed Aster using Card Deco Essentials Turquoise Pigment Ink. 

Following on from this I coloured the aster flowers using the Turquoise Pigment Ink with a Water Brush, die-cut it with the Elegance Aster Die and adhered it onto the card front using 3D foam dots.


I then foiled with the Elegance Sending Love Hotfoil Stamp using Smooth White Cardstock, Gold Matt Finish Heat Activated Foil and the GoPress and Foil Machine

Following on from this I die-cut the foiled sentiment with the Elegance Sending Love Hotfoil Die and adhered it onto the card front using 3D Foam Dots.


Follow my video tutorial below to learn how to foil with the Elegance Sending Love Hotfoil Stamp.

Video Link:


I then die-cut white cardstock with the You Are Adorable Leaf Die and adhered it onto the card front.

Gift Box


I first trimmed Smooth White Cardstock to 8 1/2" x 10" and score it at 1 1/2" and 3" on all sides using the Scoring Board

I then fold the scored lines and cut the cardstock.  The photo down below shows you how to cut the cardstock.


Following on from this I first glued the small tabs onto the cardstock using Turbo Tacky Glue


I then trimmed the other two flaps using the Tabletop General Scissor and glued the top tabs to the inside of the box to reinforce it.


Following on from this I cut Caruso Cardstock to 4 1/4" x 9 3/4" and scored it at 1 1/2", 3", 5 5/8" and 7 1/8". 

I fold the score lines and die-cut the 7 1/8" side with the Elegance Beautiful DL Border Die.


Following on from this I glued the white box onto the cardstock and also the sides of the box. 


I added a Hook and Loop Spot to close the two flaps of the gift box.


Following on from this I added the white cardstock border die-cuts onto the front of the lid using All Purpose Art Glue. Refer to my card instructions above on how to die-cut the Elegance Beautiful DL Border Die.


I then added a heat embossed aster flower, die-cut Caruso Cardstock with the You Are Adorable Leaf Die and adhered it onto the flap using 3D foam dots to finish.


Couture Creations Material List:

C0726520 GoPower & Emboss Machine
C0727163 GoPower & Emboss Magnetic Platform
C0725032 GoPress and Foil Machine
C0725355 Gold Vintage Matte Finish Heat Activated Foil
C0726342 Scoring Board 12 x 12
C0727860 Glass Mat
C0728524 Tabletop General Scissor
C0727381 Precision Stamp Press
C0728299 Stamp Scrubber
C0728094 Stamp Cleaner
C0728836 Elegance Beautiful DL Border Cutting Die Set
C0728845 Elegance Aster Mini Layering Stamp and Die Set
C0728838 Elegance You Are Adorable Layered Sentiment Cutting Die Set
C0728852 Elegance Sending Love Hotfoil Stamp and Die Set
ULT200030 Ultimate Crafts 12 x 12 Caruso Cardstock
C0728699 Smooth White Cardstock 280gsm
C0728278 Embossing Ink Pad
C0724973 Mirror Platinum Classic Metallics Embossing Powder
CDEIPL005 Turquoise Card Deco Essentials Pigment Ink
C0728387 Water Brush Pack
C0728286 Hook and Loop Spots
C0728511 All Purpose Art Glue
C0728515 Turbo Tacky Glue 

Follow me on my personal blog here: 
I would like to enter the following challenges:

Pearly Sparkles Challenge Blog.  Theme:  No Designer Paper.
Crafts Galore Challenge Blog.  Theme:  Anything Goes.
Love To Craft Challenge Blog.  Theme:  Anything Goes.
Love To Scrap Challenge Blog.  Theme:  Anything Goes.
Morgan's ArtWorld Challenge Blog.  Theme:  Anything Goes.
Classic Design Challenge Blog.  Theme:  Anything Goes.
The Creative Crafters Challenge Blog.  Theme:  Anything Goes.

Thank you for visiting today and I hope you enjoyed how I created my Card and Gift Box.
  
Happy Crafting!

Anet

Thursday 19 January 2023

Embossing Folder Techniques - Couture Creations

Hi Everyone, Anet here today and welcome to my inspiration post.

Today I want to share two amazing Embossing Folder Techniques with you. I used the Elegance Collection and coloured one of the embossing folder techniques with the Twin Tip Alcohol Ink Markers from Couture Creations


Step by Step Instructions:

Card 1 - Embossing Folder & Twin Tip Alcohol Ink Markers


My video tutorial below will show you how to create this fabulous card using the first Embossing Folder Technique.

For the card base I used a White Tall CardI first die-cut the Smooth White Cardstock with the Hanging Bauble Nesting Die and embossed it using the Elegance Framed Bouquet DL Embossing Folder.


Following on from this I used the first embossing folder technique using the Twin Tip Alcohol Ink Markers to colour the embossed cardstock.


Twin Tip Alcohol Ink Markers Combinations:

Flower: 216, 234, 86
Daisy: 3935, 106, 123, 134, 7565, White Gel Pen
Rose: 206, 193, 220, 188
Leaves: 354, 358, 7743
Background: WG1

I trimmed Jungle Cardstock to 3 3/4" x 8", layered the coloured image onto the cardstock and adhered it onto the card front.

Following on from this I stamped the Elegance Thank You Mini Sentiment Stamp onto Smooth White Cardstock and heat embossed it. I used the Embossing Ink Pad and the Mirror Platinum Classic Metallics Embossing Powder.


I then die-cut the embossed sentiment with the Elegance Thank You Sentiment Die.

To finish I added Emerald Green Adhesive Pearls and Liquid Drops 3D Pearls

I just love the beautiful erased effect you get using this embossing folder technique.


Card 2 - Embossing Folder & White Pigment Ink


Follow my video tutorial below to learn how to use the second Embossing Folder Technique to create this fabulous card. 

I first trimmed Smooth White Cardstock to 8 3/4" x 8 3/4", scored it at 4 3/8" and fold it to create the card base.

I then trimmed Blue Diamond Cardstock to 4 1/4" x 8 1/2" and embossed it with the Elegance Framed Bouquet DL Embossing Folder.


Following on from this I used the second embossing folder technique and applied white pigment ink over the erased areas using a Sponge Dauber.

I then die-cut Smooth White Cardstock with the Elegance Happy Birthday Die and adhered it onto the card front using All Purpose Art Glue to finish.

I think this embossing folder technique just gives the card a soft and elegant look. 


Are you ready to learn the fabulous 
Elegance Embossing Folder Techniques?
Grab a cuppa and just click the video link below.

Video Link:
Couture Creations Material List:

C0726520 GoPower & Emboss Machine
C0727163 GoPower & Emboss Magnetic Platform
C0727860 Glass Mat
C0APC2 Twin Tip Alcohol Ink Markers
C0728475 Stamp and Colour Outline Ink Pad Soft Black
C0727749 Acrylic Block Set
C0728299 Stamp Scrubber
C0728094 Stamp Cleaner
C0723623 Sponge Daubers Set
C0728833 Elegance Framed Bouquet DL Embossing Folder
C0728837 Elegance Happy Birthday Layered Sentiment Cutting Die Set
C0728849 Elegance Just For You Mini Sentiment Stamp and Die Set
C0728539 Deck The Halls Hanging Bauble Tall Card Nesting Die Set
C0728699 Smooth White Cardstock 280gsm
C0724847 White Tall Card & Envelope Set
ULT200017 Ultimate Crafts 12 x 12 Blue Diamond Cardstock
ULT200038 Ultimate Crafts 12 x 12 Jungle Cardstock
C0728278 Embossing Ink Pad
C0724973 Mirror Platinum Classic Metallics Embossing Powder
ULT157649 Liquid Drops 3D Pearls Pharaoh
C0724642 Emerald Green Premium Adhesive Pearls
C0728511 All Purpose Art Glue
C0728515 Turbo Tacky Glue 

Follow me on my personal blog here: 
I would like to enter the following challenges:

The Creative Crafters Challenge Blog.  Theme:  Anything Goes.
Pearly Sparkles Challenge Blog.  Theme:  No Designer Paper.
Crafts Galore Challenge Blog.  Theme:  Anything Goes.
Love To Scrap Challenge Blog.  Theme:  Anything Goes.
Mix It Up Challenge Blog.  Theme:  No Stamping (Embossing and Die-cut).
Morgan's ArtWorld Challenge Blog.  Theme:  Anything Goes.
Classic Design Challenge Blog.  Theme:  Anything Goes.
Creative Crafting Uncles Challenge Blog.  Theme:  Happy Birthday.

Thank you for visiting today and I hope you enjoyed how I created my Embossing Folder Technique Cards.  

Happy Crafting!

Anet

Wednesday 11 January 2023

One-Sheet-Wonder Cards - Couture Creations

Hi Everyone, Anet here today and welcome to my inspiration post.

Today I want to show you the One-Sheet-Wonder Card Technique to create 4 cards using one sheet of the new beautiful Elegance Collection from Couture Creations


Step by Step Instructions:

I first trimmed the Persimmon Cardstock four times to 3 7/8" x 5 5/8" and adhered it onto a white card base.


I then cut the Elegance Patterned Paper 3 to 3 5/8" x 5 3/8" and layered it onto the card front using Turbo Tacky Glue.

Card 1 - Just For You


Following on from this I used the Hot Foiling Pen with the Silver Matte Finish Heat Activated Foil and Flourish & Thrive Christmas Bells Stencil.

My video tutorial below will show you how to use the Hot Foiling Pen.


Are you ready to learn how to use the 
Hot Foiling Pen with a negative die-cut and stencil?
Grab a cuppa and just click the video link below.

Video Link:


I then stamped the Elegance Thank You Mini Sentiment Stamp onto Persimmon Cardstock and heat embossed it. I used the Embossing Ink Pad and the Mirror Platinum Classic Metallics Embossing Powder.


Following on from this I added Soft Peach Adhesive Pearls to finish.

Card 2 - Thank You


I then used the Hot Foiling Pen with a negative Peaceful Peonies Leafy Branch die-cut and Silver Matte Finish Heat Activated Foil.

Follow my video tutorial above where I show you how to use the Hot Foiling Pen. 


Following on from this I stamped the Elegance Thank You Mini Sentiment Stamp onto Persimmon Cardstock and heat embossed it. I used the Embossing Ink Pad and the Mirror Platinum Classic Metallics Embossing Powder.

I then added Soft Peach Adhesive Pearls to finish.

Card 3 - Happy Birthday


Following on from this I trimmed the Elegance Patterned Paper 3 to 3" x 5 3/8" and layered it onto the card front using 3D foam dots.

I then die-cut the Mirror Board Matte Gold Lines Cardstock with the Elegance Border and Happy Birthday Sentiment Die and adhered it onto the card front using All Purpose Art Glue.


I then added Soft Peach Adhesive Pearls to finish.

Card 4 - Thinking Of You


Following on from this I trimmed the Elegance Patterned Paper 3 at 1" and then the 1" patterned paper at 7/8". I then layered the patterned paper onto the card front using 3D foam dots.

I then foiled with the Elegance Sending Love Hotfoil Stamp using Smooth White Cardstock, Gold Vintage Matt Finish Heat Activated Foil and the GoPress and Foil Machine. I then die-cut the foiled sentiment using the Elegance Sending Love Die. 


Follow my video tutorial to learn how to foil with the Elegance Sending Love Hotfoil StampVideo Link: https://youtu.be/6PMP4Uzp98E


I then added Soft Peach Adhesive Pearls to finish.

Couture Creations Material List:

C0726520 GoPower & Emboss Machine
C0727163 GoPower & Emboss Magnetic Platform
C0725032 GoPress and Foil Machine
C0728736 Hot Foiling Pen
C0725351 Silver Matte Finish Heat Activated Foil
C0725355 Gold Vintage Matte Finish Heat Activated Foil
C0728701 All-In-One Magnetic Art Work Station
C0728820 Elegance 12 x 12 Paper Pad
C0728849 Elegance Just For You Mini Sentiment Stamp and Die Set
C0728852 Elegance Sending Love Hotfoil Stamp and Die Set
C0728837 Elegance Happy Birthday Layered Sentiment Cutting Die Set
C0728836 Elegance Beautiful DL Border Cutting Die Set
C0728722 Flourish & Thrive Christmas Bells Stencil, Stamp & DieCut Set
C0727421 Peaceful Peonies Leafy Branch Die
C0728699 Smooth White Cardstock 280gsm
ULT200062 Ultimate Crafts 12 x 12 Persimmon Cardstock
C0725407 Mirror Board Matte Gold Lines
C0727381 Precision Stamp Press
C0728299 Stamp Scrubber
C0728094 Stamp Cleaner
C0728278 Embossing Ink Pad
C0724973 Mirror Platinum Classic Metallics Embossing Powder
C0725383 Soft Peach Premium Adhesive Pearls
C0728511 All Purpose Art Glue
C0728515 Turbo Tacky Glue 

Follow me on my personal blog here: 
I would like to enter the following challenges:

Crafts Galore Challenge Blog.  Theme:  Anything Goes.
Love To Craft Challenge Blog.  Theme:  Anything Goes.
Love To Scrap Challenge Blog.  Theme:  Anything Goes.
Mix It Up Challenge Blog.  Theme:  No Stamping (Die-cut).
Morgan's ArtWorld Challenge Blog.  Theme:  Anything Goes.
Classic Design Challenge Blog.  Theme:  Anything Goes.
Double D Challenge Blog.  Theme:  Happy Birthday.
Make My Monday Challenge Blog.  Theme:  Something New (Dies and Foil Stamps).

Thank you for visiting today and I hope you enjoyed how I created my One-Sheet-Wonder Cards.
  
Happy Crafting!

Anet

Related Posts Plugin for WordPress, Blogger...