It is time for a new challenge at Paper Shelter
and the theme is Frame It
Now here is my card
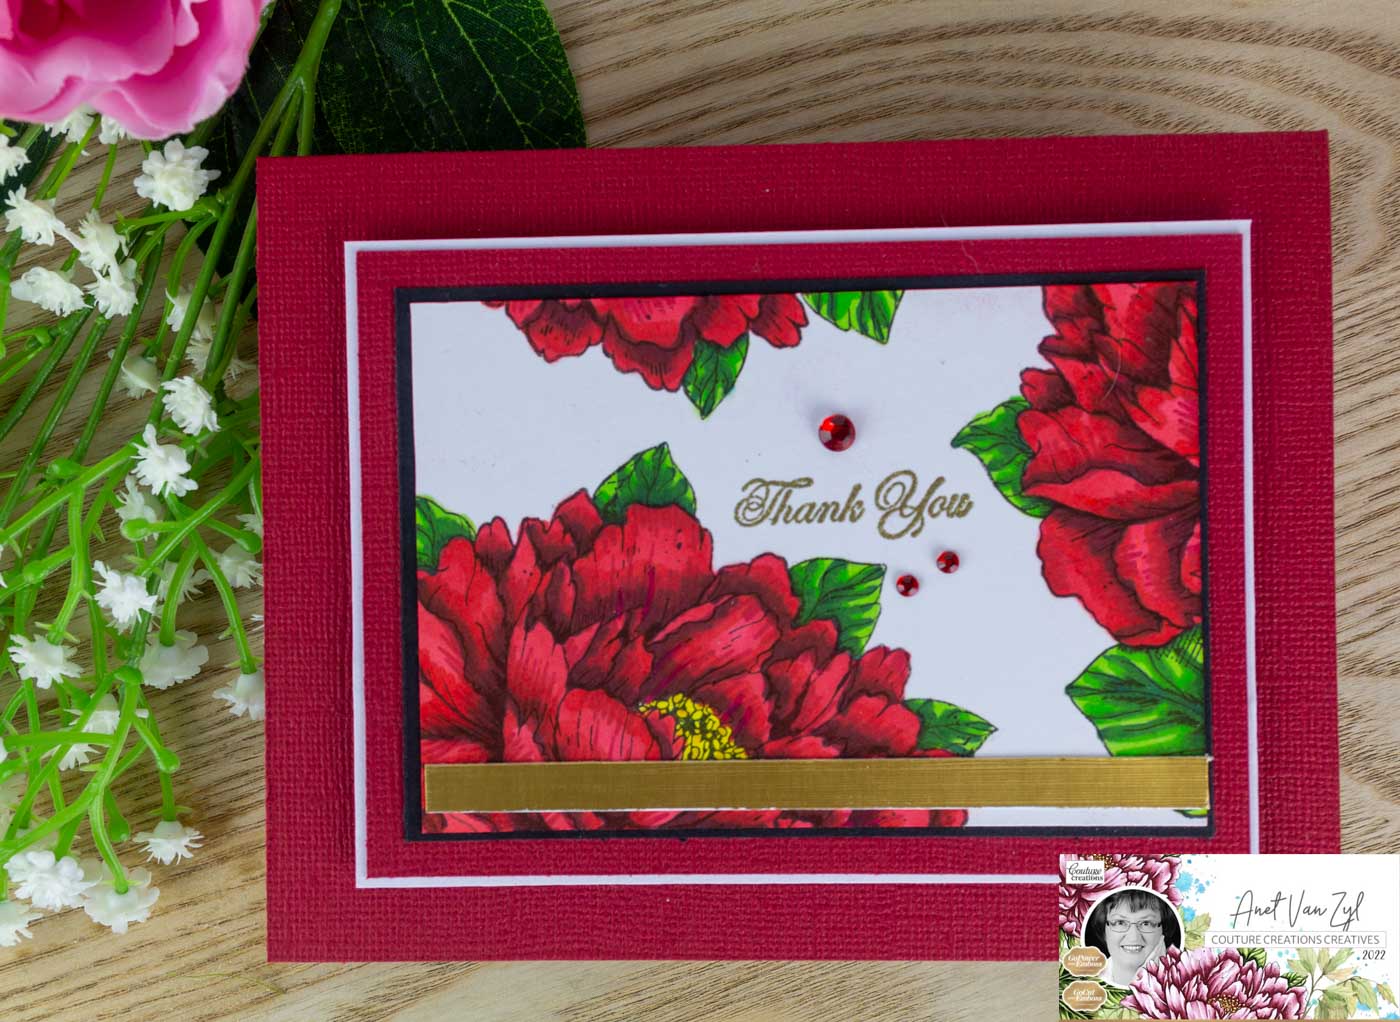
using Prince Charming & Coquette
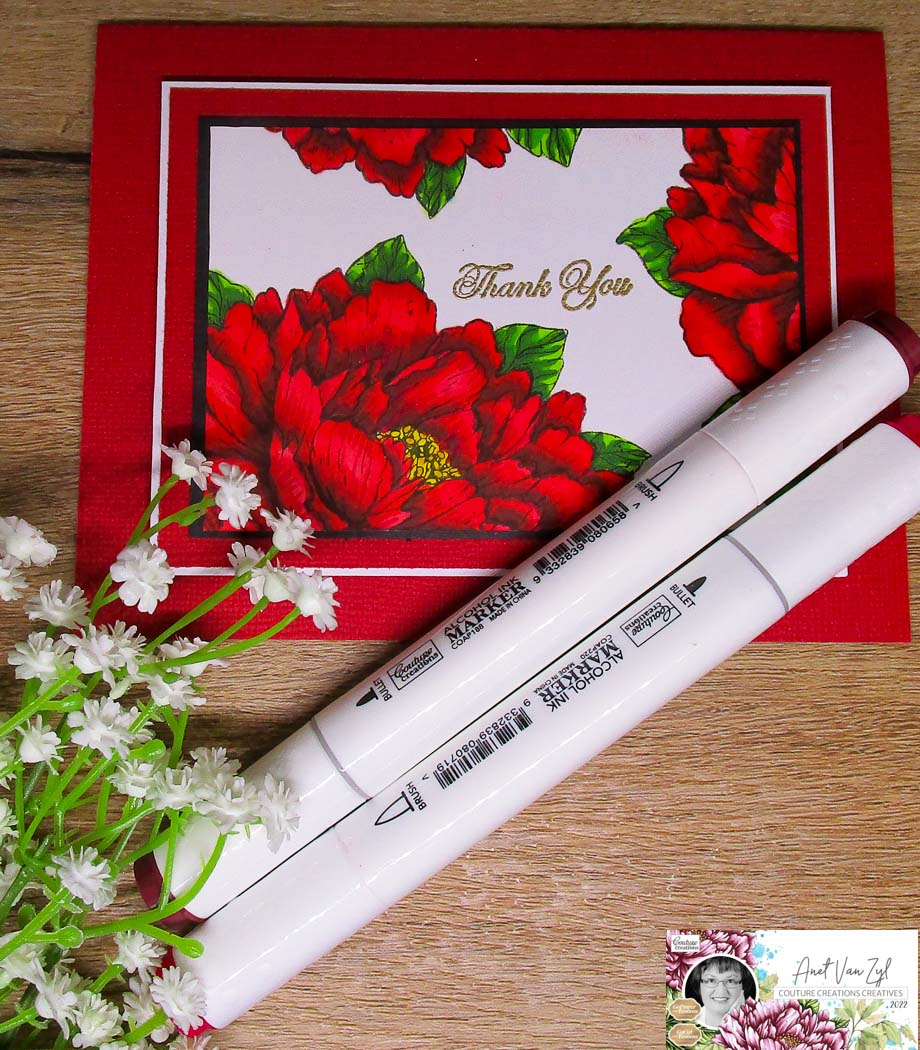
Coloured with Copic Sketch Markers.

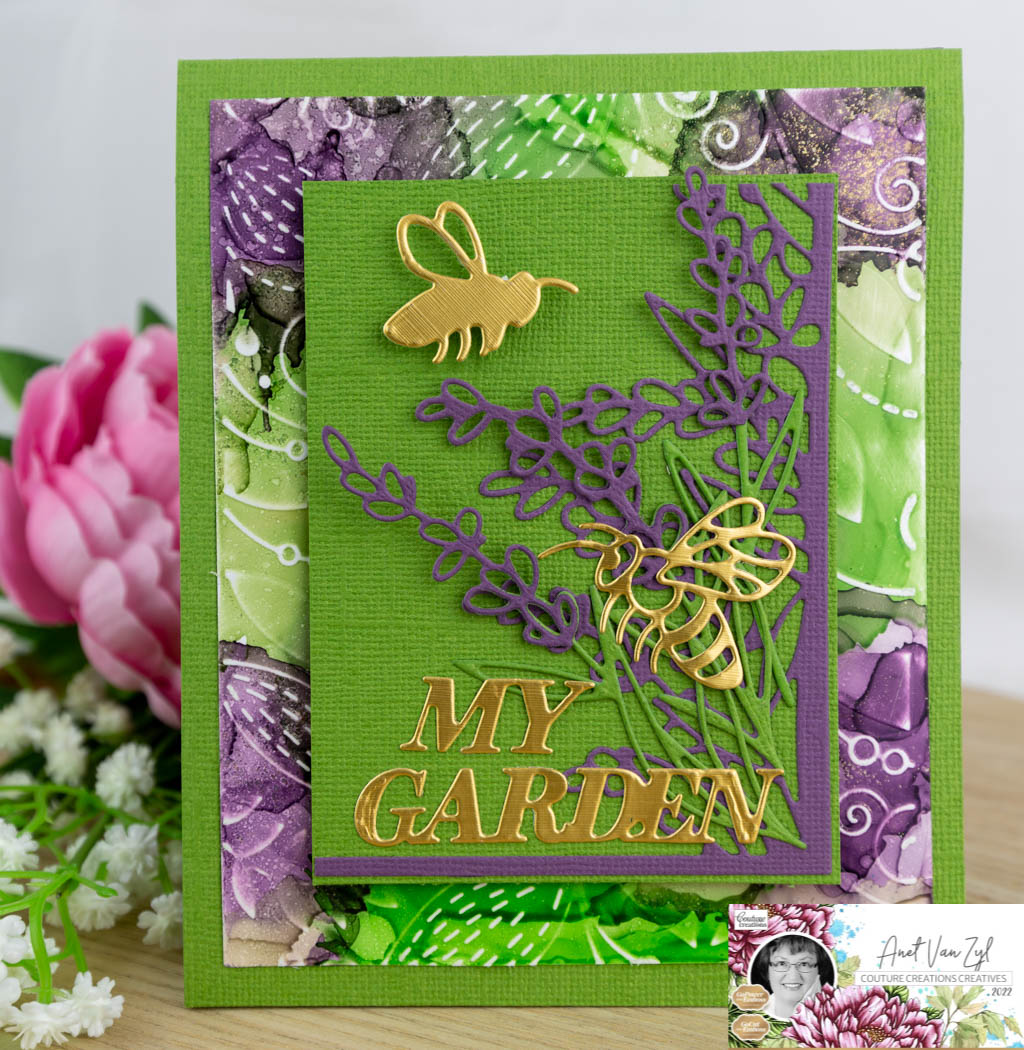
Sentiment: LOTV Circle Sentiment. Dies: Memory Box Owl Heart Tree. Leane Creatif Blossom. Couture Creations The Gift Of Giving Holly Frame Set and Peaceful Peonies Tall Branches.


Thank you for visiting me, I always appreciate you taking the time to leave a lovely comment.
Our Sponsor The Paper Shelter are offering one lucky winner a fabulous gift certificate of $30. But, you must use a Paper Shelter product on your card or project. This could be a Paper Shelter Image, Paper or Printable. If you don't use a Paper Shelter product, you could still win 3 digi images of your own choice. So it really is a win win situation don't you think.

Make sure you go over to The Paper Shelter Shop and take a look at all the beautiful digital stamps.

I would like to enter the following challenges:
Pearly Sparkles Challenge Blog. Theme: Anything Goes.
Crafts Galore Encore Challenge Blog. Theme: Anything Goes.
Crafty Friends Challenge Blog. Theme: Summer Colours.
Creative Inspirations Challenge Blog. Theme: Anything Goes.
613 Avenue Create Challenge Blog. Theme: Anything Goes.
Corrosive Challenge Blog. Theme: Anything Goes.
World Wide Open Design Team Challenge Blog. Theme: Anything Goes.
The Creative Crafters Challenge Blog. Theme: Anything Goes.
Lil Patch Of Crafty Friends Challenge Blog. Theme: Anything Goes.
Simon Says Stamp Challenge Blog. Theme: Shimmer & Shine (Gemstones).
Anet x